# Setup and run the app
Here is the file tree hierarchy of the project:
✗ tree -I node_modules
.
├── README.md
├── docs
│   └── images
│       ├── generate-api-key.png
│       ├── local-app-runnning.png
│       └── menu-1.png
├── package-lock.json
├── package.json
├── pages
│   ├── api
│   │   └── generate.js
│   ├── index.js
│   └── index.module.css
└── public
    └── dog.png

5 directories, 10 files
1
2
3
4
5
6
7
8
9
10
11
12
13
14
15
16
17
18
19
2
3
4
5
6
7
8
9
10
11
12
13
14
15
16
17
18
19
Proceed as follows:
Starting with the assignment repo, install the requirements
$ npm install1Which installs the dependencies listed in
package.json:➜ openai-quickstart-node git:(main) ✗ jq '.dependencies' package.json { "next": "^12.1.6", "openai": "^3.0.0", "react": "17.0.2", "react-dom": "17.0.2" }1
2
3
4
5
6
7Notice that the
nextversion major is 12Make a copy of the example environment variables file
$ cp .env.example .env1Add your API key (opens new window) to the newly created
.envfileRun the app
$ npm run dev1The console shows:
➜  openai-quickstart-node git:(master) ✗ npm run dev

> openai-quickstart-node@0.1.0 dev
> next dev

ready - started server on 0.0.0.0:3000, url: http://localhost:3000
info  - Loaded env from /Users/casianorodriguezleon/campus-virtual/2223/learning/openai-learning/openai-quickstart-node/.env
wait  - compiling...
event - compiled client and server successfully in 1174 ms (113 modules)
1
2
3
4
5
6
7
8
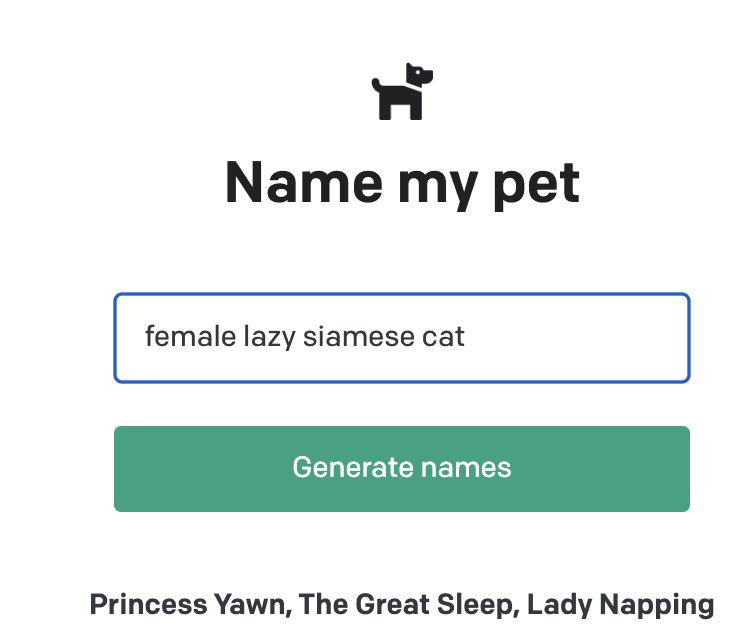
9You should now be able to access the app at http://localhost:3000 (opens new window)!
For the context behind this example app, check out the Open AI tutorial (opens new window).